 English
 Español
 Português
 русский
 français
 日本語
日本語 Deutsch
 Tiếng Việt
 Italiano
 Nederlands
 ไทย
ไทย Polski
 한국어
한국어 Svenska
 magyar
 Malay
Malay বাংলা
বাংলা Dansk
Dansk Suomi
Suomi हिन्दी
 Pilipino
 Türk
Türk Gaeilge
 عربى
عربى Indonesia
 norsk
norsk اردو
اردو čeština
 Ελληνικά
 Українська
 Javanese
 فارسی
فارسی தமிழ்
தமிழ் తెలుగు
 नेपाली
 Burmese
 български
 ລາວ
ລາວ Latine
 Қазақ
Қазақ Euskal
 Azərbaycan
 slovenský
 Македонски
 Lietuvos
 Eesti Keel
 Română
 Slovenski
 मराठी
मराठी Српски
 简体中文
简体中文 Esperanto
 Afrikaans
 Català
 עִברִית
 Cymraeg
 Galego
 繁体中文
繁体中文 Latvietis
 icelandic
 יידיש
יידיש Беларус
 Hrvatski
 Kreyòl ayisyen
 Shqiptar
 Malti
Malti lugha ya Kiswahili
 አማርኛ
አማርኛ Bosanski
 Frysk
Frysk ជនជាតិខ្មែរ
 ქართული
 ગુજરાતી
 Hausa
Hausa Кыргыз тили
 ಕನ್ನಡ
ಕನ್ನಡ Corsa
Corsa Kurdî
Kurdî മലയാളം
 Maori
Maori Монгол хэл
 Hmong
Hmong IsiXhosa
 Zulu
Zulu Punjabi
 پښتو
پښتو Chichewa
 Samoa
Samoa Sesotho
 සිංහල
සිංහල Gàidhlig
 Cebuano
 Somali
 Точик
Точик O'zbek
 Hawaiian
 سنڌي
سنڌي Shinra
 հայերեն
 Igbo
Igbo Sundanese
 Lëtzebuergesch
 Malagasy
 Yoruba


As the cold season approaches, many homes and businesses are beginning to consider how to stay warm during cold weather while reducing energy consumption. Self-regulating heating cables are a very effective solution that can help prevent ice and snow accumulation while providing warmth both indoors and outdoors. Today, we’ll show you how to install self-regulating heating cables so you can enjoy cozy comfort during the cold winter months.
1. Material preparation
Before starting the installation, you need to prepare the following materials:
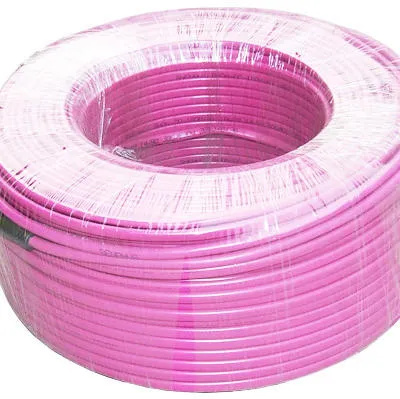
- Self-regulating heating cable
- Cable clamp
- Insulation Tape
- Cable connector (if cable extension is required)
- Cable terminal box
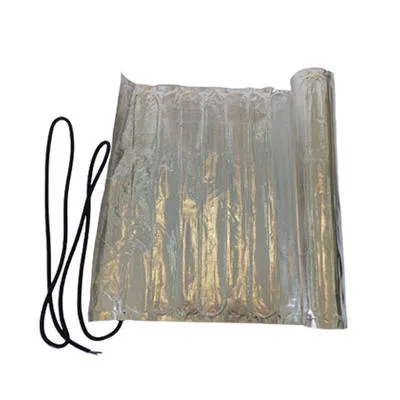
- Insulating sheath
- Fiberglass insulation tape
- Tools: screwdriver, cable scissors, cable insulation stripping tool
2. Plan the installation location
Before installation, it is necessary to determine the installation location of the heating cable. Typically, these cables are used to prevent freezing of roofs, rain gutters, water pipes and drainage systems, as well as freezing of floors, steps and walkways. Measure the length of the cable according to the area required.
3. Installation process
a. Roofs and rain gutters
1). Use retaining clips to secure the cable along the edge of the roof or along the base of the rain gutter. Make sure the cables are evenly distributed and do not overlap or overlap.
2). Guide the cable to the cable terminal box and connect it to the cable terminal box. Make sure the connection is secure and wrap it with electrical tape to keep the cable connection dry and secure.
b. Floors and walkways
1). Measure the length of the cable along the floor or walkway that needs to be heated.
2). Use electrical tape to securely secure the cable to the ground to ensure it cannot move or fold.
3). Route the cables to the cable terminal box, connect as above and wrap with insulating tape.
c. Water pipes and drainage systems
1). Carefully wrap the self-regulating heating cable around the water pipe or drainage system. Make sure the cable is in tight contact with the pipe.
2). For water pipes, use fiberglass insulation tape to cover the entire cable and pipe to provide additional protection and insulation.
3). If necessary, route the cables to the cable terminal box, connect them and wrap them with insulating tape.
4. Power connection
Always read the manufacturer's installation instructions and safety precautions before connecting the self-regulating heating cable to a power source. Typically, power connections should be made by a professional electrician to ensure safety and performance.
5. Test the system
Once the installation is complete, make sure to test the system to make sure everything is working properly. Make sure the cables work properly in cold weather to prevent freezing and freezing.
6. Energy Saving Tips
Although self-regulating heating cables are very effective, to minimize energy consumption it is recommended to activate them only when needed. Use a timer or temperature controller to ensure the cable only works when necessary.
By properly installing self-regulating heating cables, you can enjoy more comfort during the cold winter months while reducing energy consumption and maintenance costs. Remember to always read the manufacturer's installation instructions or seek professional advice before installation to ensure everything is safe and secure.
